

How to Create Scenery in FSX
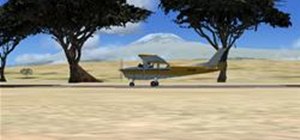
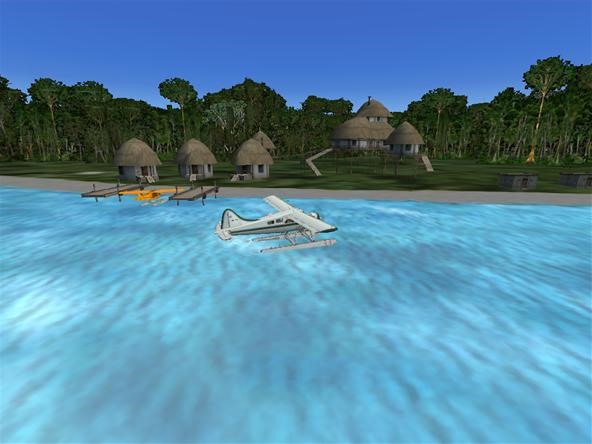
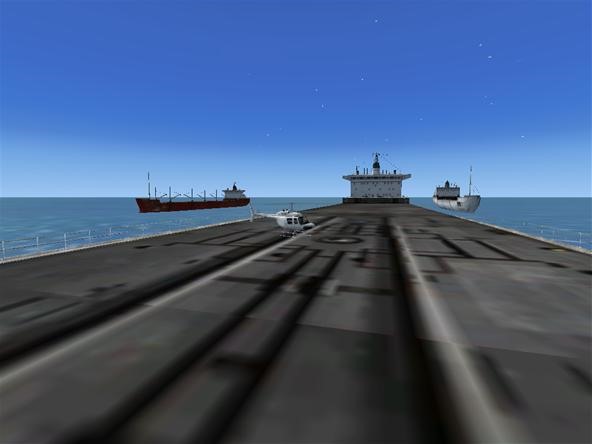
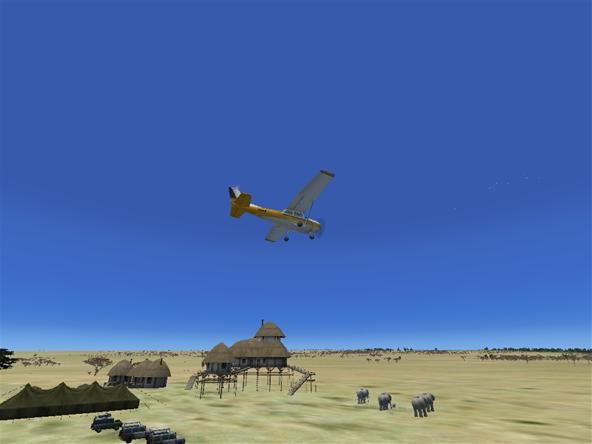
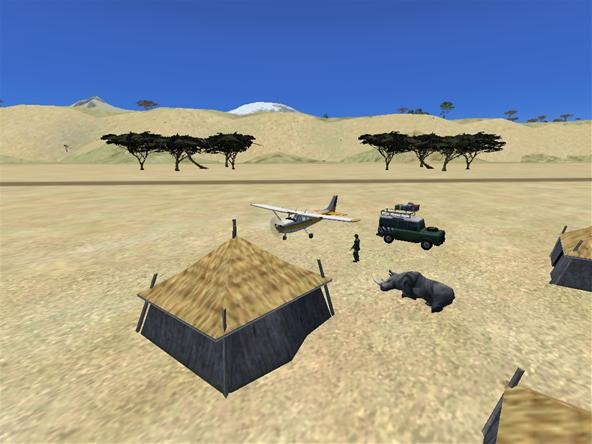 This article will show you how to create scenery objects in Microsoft Flight Simulator X (unfortunately not available to the Standard FSX, but it is available to standard FSX with the Acceleration Expansion Pack) that you can see in the 'real world' of free flight and not just in a mission. It does not involve creating custom scenery/building etc. using a 3d modelling program, instead it uses Flight Simulator's own library of buildings, trees, animals etc. and allows you to place them wherever you want. You could place a cargo ship or an oil rig off the coast to practice landing a helicopter on it, or develop your favourite airport with buildings and trees. The library is huge and every piece of scenery you see in fsx, in any mission, is available for you to place in the real world. I have included some pictures of what I have done, just to show you what is possible.
This article assumes only a little knowledge about navigating to different folders. The actual placing of the scenery itself is quite intuitive and easy to do.
Step 1
Install Flight Simulator X SDK: There are loads of tutorials on the internet about how to do this so i won't go over it now, a quick google search should rectify any problems, but here is a link: http://www.fsdeveloper.com/wiki/index.php?title="SDK_Installation_"(FSX)
Tips
- However, do ensure that you download the correct version of the SDK for your particular version of FSX (e.g. acceleration and/or service packs etc.)
Step 2
Load a flight in the area that you want to create your scenery and click Tools/ Object Placement Tool.
Tips
- If you can't see these menu's, check you have installed the SDK correctly.
Step 3
Click 'Load Scenery' - and open the (latest) "World.xml" file (Microsoft Games/MSFSX SDK/SDK/Environment Kit/BGL Compiler SDK)
Step 4
Create and edit scenery with the Object Placement Tool: Again there are many tutorials on the internet on how to do this but it is quite easy once you get used to it - experiment and have fun!
Tips
- Make sure you put FSX into 'restore down', i.e. it isn't maximised to fill the full screen, but not minimised to the task bar. This (for some reason) is the only way you can move the Object Placement Tool Window out of the way so that you can see the green cross and the scenery you are placing.
Step 5
Click 'Save Scenery' and save as "World'n'.xml" in folder (Microsoft Games/MSFSX SDK/SDK/Environment Kit/BGL Compiler SDK). The 'n' here stands for a number so the first time you do this, save it as "World1.xml" and the second time "World2.xml" and so on.
Step 6
Click Cancel, and "Exit without Save" etc.
Step 7
Navigate to the folder that you saved the "World'n'.xml" file in and click and drag the "World'n'.xml" file onto the "bglcomp.exe" icon to create a bgl file that FSX can use in-game.
Step 8
Then place this "World'n'.BGL" file into the folder "C:\Program Files\Microsoft Games\Microsoft Flight Simulator X\Scenery\World\Scenery" and delete the previous "World'n'.BGL" file (if there is one).
Step 9
When you next start Flight Simulator, there should be a loading screen about 'loading new scenery' or along those lines. The scenery is then installed in the Flight Simulator World! Congratulations!
Warnings
- If you are feeling cautious or particularly sensible, remember to back-up your original "World.BGL" file (just copy and paste to a folder where you won't lose it)
Just updated your iPhone? You'll find new emoji, enhanced security, podcast transcripts, Apple Cash virtual numbers, and other useful features. There are even new additions hidden within Safari. Find out what's new and changed on your iPhone with the iOS 17.4 update.


Be the First to Comment
Share Your Thoughts